


How to Set-up a Brooder at Your Home or In Your Farm?
Starting your flock with healthy, happy chicks is one of the most rewarding aspects of poultry farming. Whether you’re brooding your first batch at home or setting up a brooder in your larger farm space, creating the ideal environment for your chicks is crucial. Here’s your comprehensive guide on how to set up a brooder that provides the warmth, safety, and care they need to thrive.
1. Build a Brooder Guard for Containment

The first step in brooding chicks is to build a safe and secure brooder guard. A simple solution is to use a corrugated cardboard barrier, standing 12 to 18 inches (30 to 45.7 cm) tall, that will keep your chicks close to a heat source while also preventing them from wandering too far. This setup helps contain your chicks in a designated area, usually around 2 to 3 feet (0.6 to 0.9 meters) in diameter. It’s the perfect balance between freedom and safety.
2. Ensure Adequate Space for Your Chicks
Space is essential for the well-being of your chicks. Initially, provide about 6 square inches (40 square centimeters) of space per chick. As they grow, increase the space to avoid overcrowding, which can lead to stress and aggressive behaviors such as pecking. Make sure to monitor their growth and adjust the space accordingly to keep them comfortable and healthy.
3. Reliable Heat Source

Chicks need warmth to grow, but getting the temperature just right can be tricky. Start by maintaining the brooder temperature at 95°F (35°C) and decrease it by 5°F (3°C) each week. This gradual cooling simulates natural temperature changes and helps chicks acclimatize.
For heating, you can use incandescent bulbs, infrared lamps, or hover heating panels. Incandescent bulbs (60 or 100-watt) should be adjusted by raising or lowering the fixture, or swapping to a different wattage, to maintain the right temperature. Infrared lamps should be placed about 18 inches (45 cm) above the chicks, adjusting the height by 3 inches (7.5 cm) each week. Hover or heating panels should be positioned 4 to 6 inches (10-15 cm) above the floor, making sure the chicks can walk comfortably underneath. A thermometer placed 2 inches (5 cm) above the floor will help ensure the temperature stays in the optimal range.
4. Provide Continuous Lighting
Chicks need light to find food and water. For the first 48 hours, keep the brooder lit continuously. After that, if your brooder gets natural light, you can switch off the artificial lights during the day unless they are also providing heat. To get your chicks accustomed to darkness, turn off the light for 30 minutes a day (not during the coldest hours) to help prevent stress when lights are turned off at night or in case of power outages.
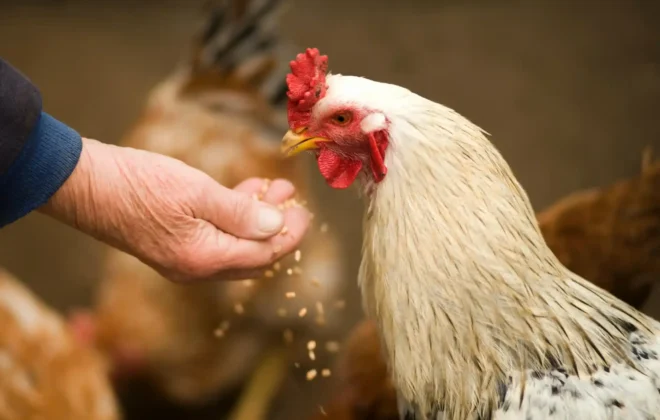
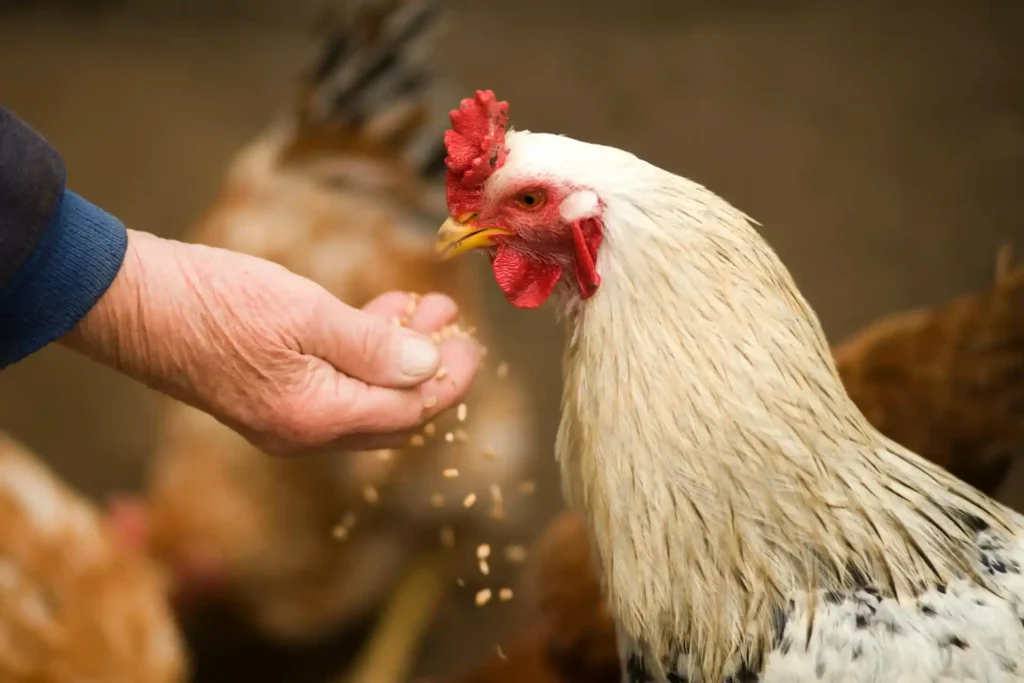
5. Feed and Water

It’s essential to provide food and water as soon as possible. Chicks can survive for up to 48 hours without water, but to ensure healthy growth, introduce water as soon as they hatch. They can also go a day or two without food, but feeding them right after their first drink is ideal. Use chick-specific feeders and drinkers, and make sure they are easy to access. Be sure to place them where the chicks can easily find them.
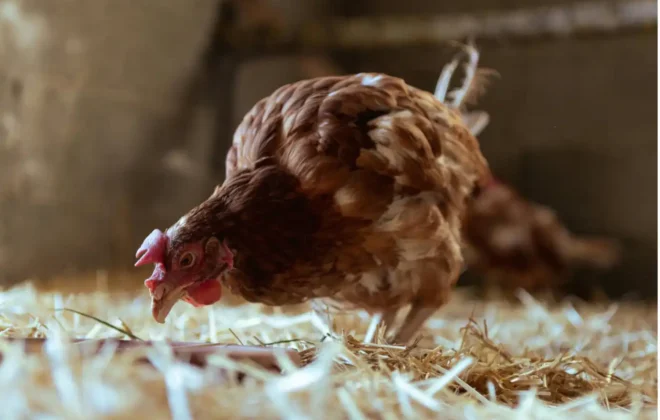
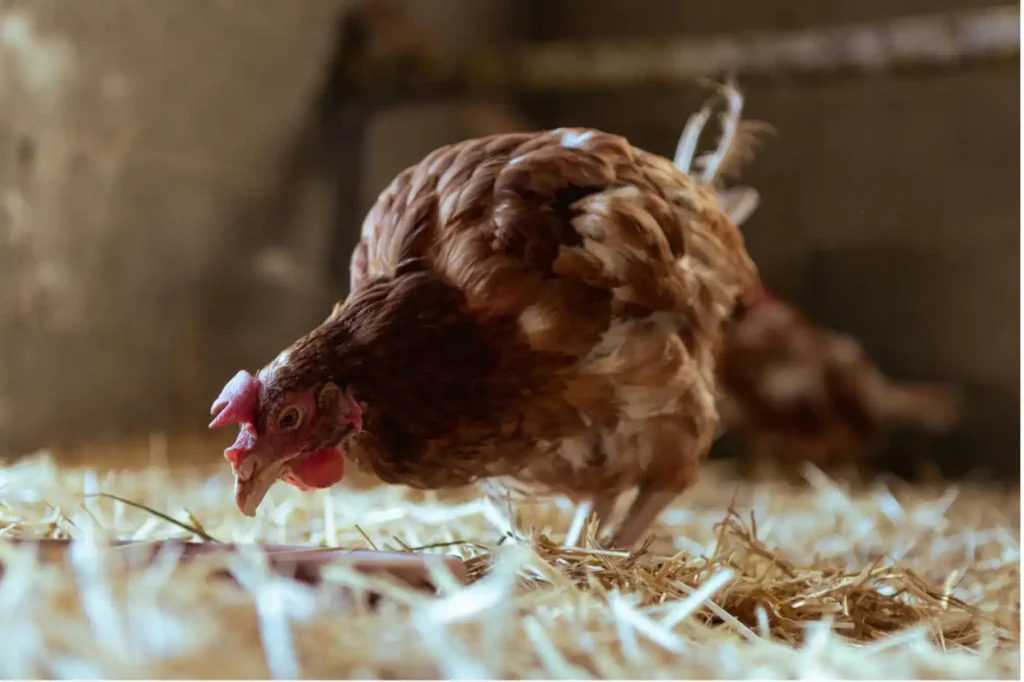
6. Maintain a Clean Environment
The bedding in your brooder plays a crucial role in keeping your chicks healthy. Suitable materials include pine shavings, chopped straw, and pellet bedding, among others. Start with paper towels for the first two days to prevent chicks from confusing the bedding with food, then replace it with other absorbent materials. Stir the bedding regularly and replace it when it becomes soiled to maintain cleanliness.
7. Protect from Moisture and Drafts
Moisture in the brooder can cause health issues like mold or pneumonia. Remove wet bedding immediately and ensure your waterers are level to prevent spills. Also, be mindful of drafts. Chicks are vulnerable to chilling, and any air movement can cause them to lose the heat they’ve absorbed. Position the brooder away from open windows, or use cardboard to shield it from drafts.
8. Protection from Predators
Your chicks may be small, but they’re at risk from predators like rats, raccoons, and even your own pets. Make sure the brooder is secure and that the door is tightly fastened. Never leave chicks unsupervised with pets, and ensure any outdoor brooders are fully enclosed to protect them.
9. Reduce Stress for Healthier Chicks
Finally, it’s important to reduce stress, which can negatively affect chick health and growth. Avoid handling your chicks in the first few days, speak softly when approaching them, and give them time to adjust to new feeders and drinkers. When they feel safe and secure, they’ll grow into strong, healthy birds.
By setting up your brooder with these tips, you’ll be well on your way to raising happy, healthy chicks. At ChickCoop®, we always aim for a well-balanced, stress-free environment for your chicks to ensure they start their journey off right. Happy brooding!
At ChickCoop®, we’re more than just a Chicken Company, writing interesting blogs about them– we’re your trusted partner in building a modernized, sustainable and profitable farm. From breed selection to buy-back support, feed guidance, and modern farm management tips, we ensure farmers like you achieve the best results and profits.
Call us today to discuss your farming needs
📧 Email us at: write@chickcoop.in
📞 Call us: +91-9939209699

